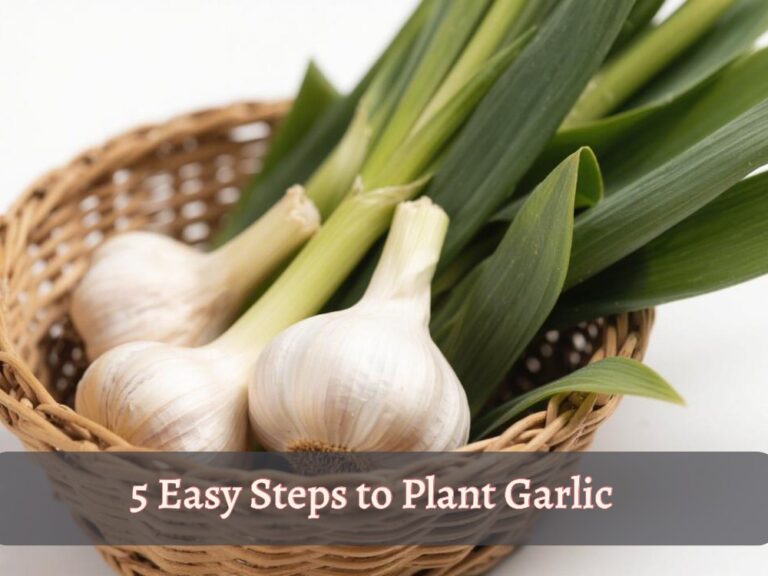
Garlic is a must-have kitchen staple for every home; no doubt planting it in your garden would be a solid move. If you are growing garlic at home as a beginner or want to enhance your previous experience, the process of how to grow garlic from a clove with just five steps is becoming a game-changer for achieving bigger bulbs with a short effort.
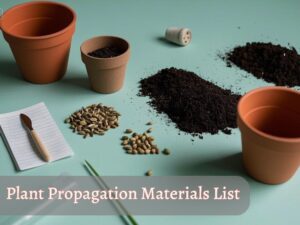
Requirements to Grow Garlic
- A healthy, pests and disease-free garlic bulb (whether hard-neck or soft-neck)
- Well-drained, loamy soil (whether in open garden or pots)
- Small garden trowel or old, solid stick (to dig holes).
- Fall season is needed for hard-neck varieties, and late spring is ideal for soft-neck varieties.
- Watering can or drip bottle (to give water after garlic planting).
5 Steps of How to Grow Garlic From a Clove
Do you know environmental factors affect every plant’s growth, so recognizing all growing requirements to plant garlic is very very important. By keeping in mind all the factors that are necessary for garlic growth, such as;
- Adequate sunlight with 50 to 75F temperature
- Well-drained loamy soil with a pH of 6.0 to 7.0
- Proper humidity of 50 to 60%
- Consistent watering without making soil soggy
Follow the steps to grow garlic from a clove in the soil of your garden, pot, raised bed, or container. Before moving to steps, you have to decide when to plant garlic in your area for optimal growth.
1-Choose the Right Garlic Variety

It depends on your preference! There are two common garlic types (Hard-neck and Soft-neck) among cultivators based on their structure, climate adaption, and growth behavior.
Deciding the right garlic variety still relies on your gardening zone or area where you live. As, hard-neck varieties can tolerate -35C (-35F), and soft-neck can survive in warmer weather with a maximum temperature of 29C.
That’s why hard-neck varieties are the best for colder zones (1 to 6), such as Alaska, Montana, and North Dakota. Soft-neck garlic varieties are suitable for warmer zones (7 to 11), such as Texas, Florida, and North California.
Explore the taste and structure difference between hard-neck and soft-neck garlic (here)
Next is your Choice regarding taste and structure
| Garlic Type | Popular Varieties | Taste Profile | Temperature Range | Best Suited USDA Zones |
|---|---|---|---|---|
| Hardneck | Rocambole | Rich, full, and spicy flavor | Cold climates, below 40°F (4°C) for vernalization | 3–6 |
| Porcelain | Strong and hot with a clean finish | Cold climates, requires cold winters | 3–6 | |
| Purple Stripe | Sweet and complex when roasted | Cold to moderate zones | 4–7 | |
| Softneck | Silverskin | Mild to hot, stores very well | Warmer regions, minimal cold needed | 7–10 |
| Artichoke | Mild, great for beginners | Warm climates, adaptable | 6–10 | |
| California Early | Smooth, light garlic flavor | Best in warm regions | 7–10 |
2-Prepare the soil

Soil works like a mother for any plant’s survival, so preparing the soil is a noticeable action in steps to grow garlic from a clove.
By the way, each garlic variety requires different growing needs but is generally loamy and slightly neutral soil (6.0 to 7.0).
Check the soil pH level with a meter or manually; if it proves too acidic, mix any source of calcium carbonate, such as eggshells or limestone powder.
3-Break the Garlic Bulbs Into Cloves

Peel the outer layer of the bulb and break it into separate cloves but make sure to avoid peeling the clove skin, as it works as a protected layer and natural moisture-retainer.
If a thin layer of any clove comes off in any way, you may need extra care. Do not plant too small cloves because it may lead to poor and weak growth. After breaking the garlic cloves, plant them within 24 hours to maintain their freshness.
4-Dig Holes in the soil

If the soil feels dry, loosen it by watering. Soil should be moist instead of waterlogged or too wet. Dig the holes through a tiny garden trowel or wooden stick. By the way, you can make holes with your finger.
Make 2-inch (5cm) deep holes according to the number of cloves. Keep at least a 4 to 6 inches (10/15cm) distance between the holes.
If planting place is more about making rows, you may need to keep a distance of 8 to 10 inches between every row. I often use the dibber tool to make straight holes in rows.
5-Plant Garlic Cloves into The Holes

The last step to plant garlic is keeping each clove in the holes. Sow garlic each garlic clove in a separate hole softly. Make sure to keep the flat side down (roots develop) and the pointed side up (shoots grow up).
Now, fill each hole with soil with a finger or a small shovel. Avoid burying completely, the top 1-inch layer of soil should be above each garlic clove.
After completing all the steps to grow garlic from a clove, keep the soil moist to allow each clove to germinate.
At the planting time, if temperature is below 0 centigrade, you need to apply a mulch layer (pine straw, dry leaves, and wood chips keep the soil warm), but after 1 day of planting.
Final Thoughts: How to Grow Garlic From a Clove?
That was the easy process of how to grow garlic from a clove at home. Now, there has remained its care and maintenance that you have to do until harvest time comes. Depending on the variety and other factors, garlic may take 6 to 8 months to grow.
However, environmental situations and unreliable variations highly affect its growth and lifecycle. Do you know that garlic is a genetically perennial, as we harvest it after 6 to 8 or even 10 months, it behaves like an annual.