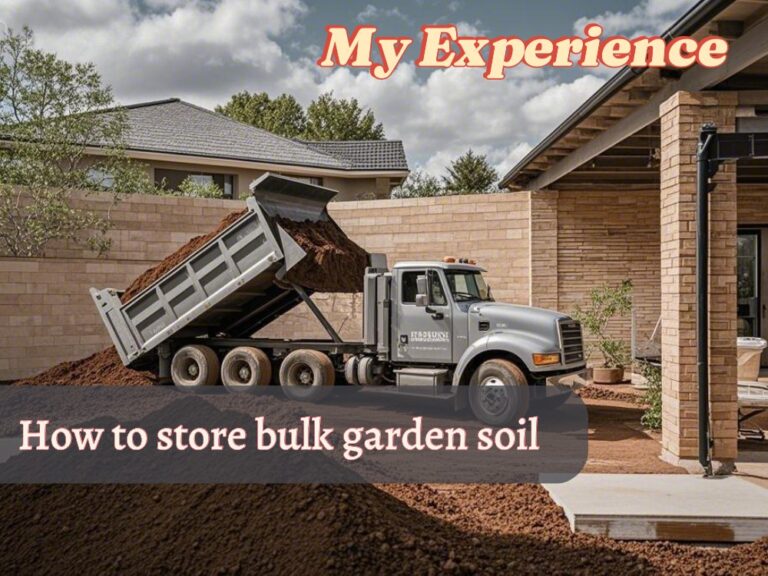
It was the winter of 2020 when I bought bulk garden soil for spring and summer gardening plans. Actually, the soil was available cheaply in my local area at that time. I found bulk soil more budget-friendly than soil bags.
I initially thought, storing bulk garden soil would be a simple task, but when the soil arrived at my house in a truck, I realized that the real game had begun! I was thinking “How would I store such a large amount of soil?”
Because it was winter, there was a high risk of mold disease due to high moisture. And the thought that I didn’t have enough indoor space (Garage, storeroom, or canopy) added to my anxiety.
Pro Tip to Save Budget: If you have a gardening plan for summer or spring, but the soil is getting cheap right now, it’s an incredible idea to buy and store it properly, by keeping in mind all tips of how to store bulk soil.
- How to Store Bulk Garden Soil? The Real Question
- First Experience: Rain Shock
- Second Experience: Sun Drying (The Solution of Moisture)
- Occur Pests Issue Challenge Between Them!
- Third Experience: Airtight Bins or Containers
- Tips to follow while Storing the bulk garden soil in airtight containers
- If containers are unavailable, try this simple method to store bulk garden soil.
- Secure vs. Risky Soil Storage Methods
- Final Thoughts: How to Store Bulk Garden Soil
My Current Experience: Like my neighbor, many gardeners think, “The soil is soil! Why store it? It’s a joke!” But I want to tell them soil storage continues the microbial process inside the soil essential to maintaining vital nutrients and microorganisms like bacteria, fungi, actinomycetes, protozoa, nematodes, and algae because these microbes play a fundamental role in continuing plant growth.
How to Store Bulk Garden Soil? The Real Question
If you have also come across this content while searching how to store bulk garden soil, then you are at the right place. Here, I will share my experience in storing bulk garden soil, which has been increasing from my mistakes.
Let’s learn how to store bulk garden soil outside, especially during winter, From My Experience.
Do you Know? Soil is a environmental factor, having a big role in plant growth. Here’s discover how these environmental factors affect plant growth traits.
First Experience: Rain Shock
I was just a beginner at that time! I covered the soil with a simple plastic sheet outdoors for an immediate solution, and that was my first mistake in storing bulk garden soil. The next morning, the rain changed the whole picture😢.
When I lifted the sheet, the soil was too wet and muddy. Then, I learned the first tip for storing bulk garden soil. I should always use heavy-duty water-proof traps instead of simple plastic sheets.
Recommendation: If you don’t have an immediate way to store the soil, plastic sheets (heavy-duty traps), even water-proof ones, can be a temporary solution, but they are not suitable for the long term.
Second Experience: Sun Drying (The Solution of Moisture)
As the soil was very wet at that time due to heavy rain, I started pouring a little bit of soil into a tray and placing it in the sun one by one.
So, before storing the soil, check for moisture levels. If it is wet and feels muddy, dry it under partial sunlight. Remember to avoid direct sunlight and look for dry and shaded places with filtered light, such as under a tree, shade nets, and balconies.
Occur Pests Issue Challenge Between Them!
Now, I was really worried about storing soil openly outdoors, whether by using water-proof traps, because there was a pest attack issue I found during the soil dryness process.
Due to organic matter and moisture hidden in the soil, pests such as fungus gnats, mites, angst, aphids, grubs, and earthworms can enter.
These pets decrease the soil nutrients, damaging the plant roots after a while. However, earthworms are beneficial for soil health and plant growth because they release worm casting in the soil.
Do you know? Sometimes, many gardeners see seeds popping out of the soil when they add worm castings. Want to know why it happens?
Third Experience: Airtight Bins or Containers
Because of this pest issue, I bought airtight containers to store my bulk soil. The soil was about 100 kilograms (200 pounds). I used one 15-gallon container with a lead available at my local hardware market.
If you don’t have much space, 4 small airtight (94 liters) containers are also perfect, measuring 24 inches (61 cm) long and 15 inches (38 cm) wide. The best thing about airtight containers is that they protect the soil from moisture and insects, especially if you want to store the soil in advance for a new spring project.
Tips to follow while Storing the bulk garden soil in airtight containers
- First, if the soil is wet, dry it in indirect sunlight to prepare for storage.
- Remove debris, rocks, soil clumps, and other unnecessary materials by your hand.
- Wash containers or bins thoroughly one by one and let them dry properly.
- Pour the prepared bulk garden soil into the containers one by one.
- Skip the space above the container so that air can bypass it.
- Close the lid of the container tightly after storing the soil in it.
- Keep the container filled with soil under a shad, such as a canopy.
- Avoid placing the containers directly on the ground, instead choose a stand, pallet, or plastic sheet.
Do you know? Leaving the container directly on the ground can cause mold and mildew due to the moisture in the ground, which can also damage the container. In addition, if the container is made of wood, termites can also easily reach there.
If containers are unavailable, try this simple method to store bulk garden soil.
For any reason, air containers are out of stock or unavailable, you can try other DIY options commonly available at your home. For example,
- Old trash cans
- Plastic Bins
- Paint buckets
- Big container or barrel
- Old bath buckets
After preparing the soil, pour it into the material available to you. Make sure to close the lid tightly to protect from pests and disease and control soil scent.
Pro Tip for DIY Options: For DIY methods, you must make a few holes in the bottom of your materials so that water can drain out and the soil does not become wet or spoiled, especially when you are placing those DIY materials in a place where there is a risk of moisture. Discover the difference between moist and wet soil!
Beyond solid alternatives, also take a look at clothes or fabric options. For example;
- Mulch Bags
- Cloth tote bags
- Old feed or grain sacks
I also used the 1-grain bag to store my remaining 15-kilogram soil, which I found in my storeroom, where we also store our grain.
After I added my leftover soil to it, I tied it tightly with a strong rope. You can also zip it to tie it.
But when using any fabric or cloth material, it is absolutely necessary to store in a dry place because they are neither airtight nor can stop moisture.
I had kept the soil stored in the grain in the storeroom. So, you should also choose such a place.
Soil comes in different types like top soil, clay, sandy, loamy and potting in which there is need to store each type of soil properly. Here’s how to store potting soil.
Secure vs. Risky Soil Storage Methods
| Secure Storage Methods | Risky Storage Methods: |
| Airtight Containers: Use solid, airtight containers stored in a dry place, like indoors or a storage room. Add silica gel or lime to control moisture and keep the soil fresh. | Buckets, Trash Cans, or Household Containers: If placed in damp areas or near water, soil can get spoiled. Not using silica gel or lime can lead to moisture problems. |
Final Thoughts: How to Store Bulk Garden Soil
In summary, if you really want to store bulk garden soil, always take a step thoughtfully. I have found an airtight container the best option from my experience.
Even if you don’t have a container, you can use old green bag buckets or trash cans at home. Just remember to keep them in a dry and safe place.
In addition, using silica gel or lime helps control humidity. No matter which storage method you use, always try to keep the soil in a place where water cannot reach it so that the quality of your soil is preserved.
Finally, choose the best method according to your needs. Even small DIY solutions can sometimes give big results.
Always think creatively and help yourself.