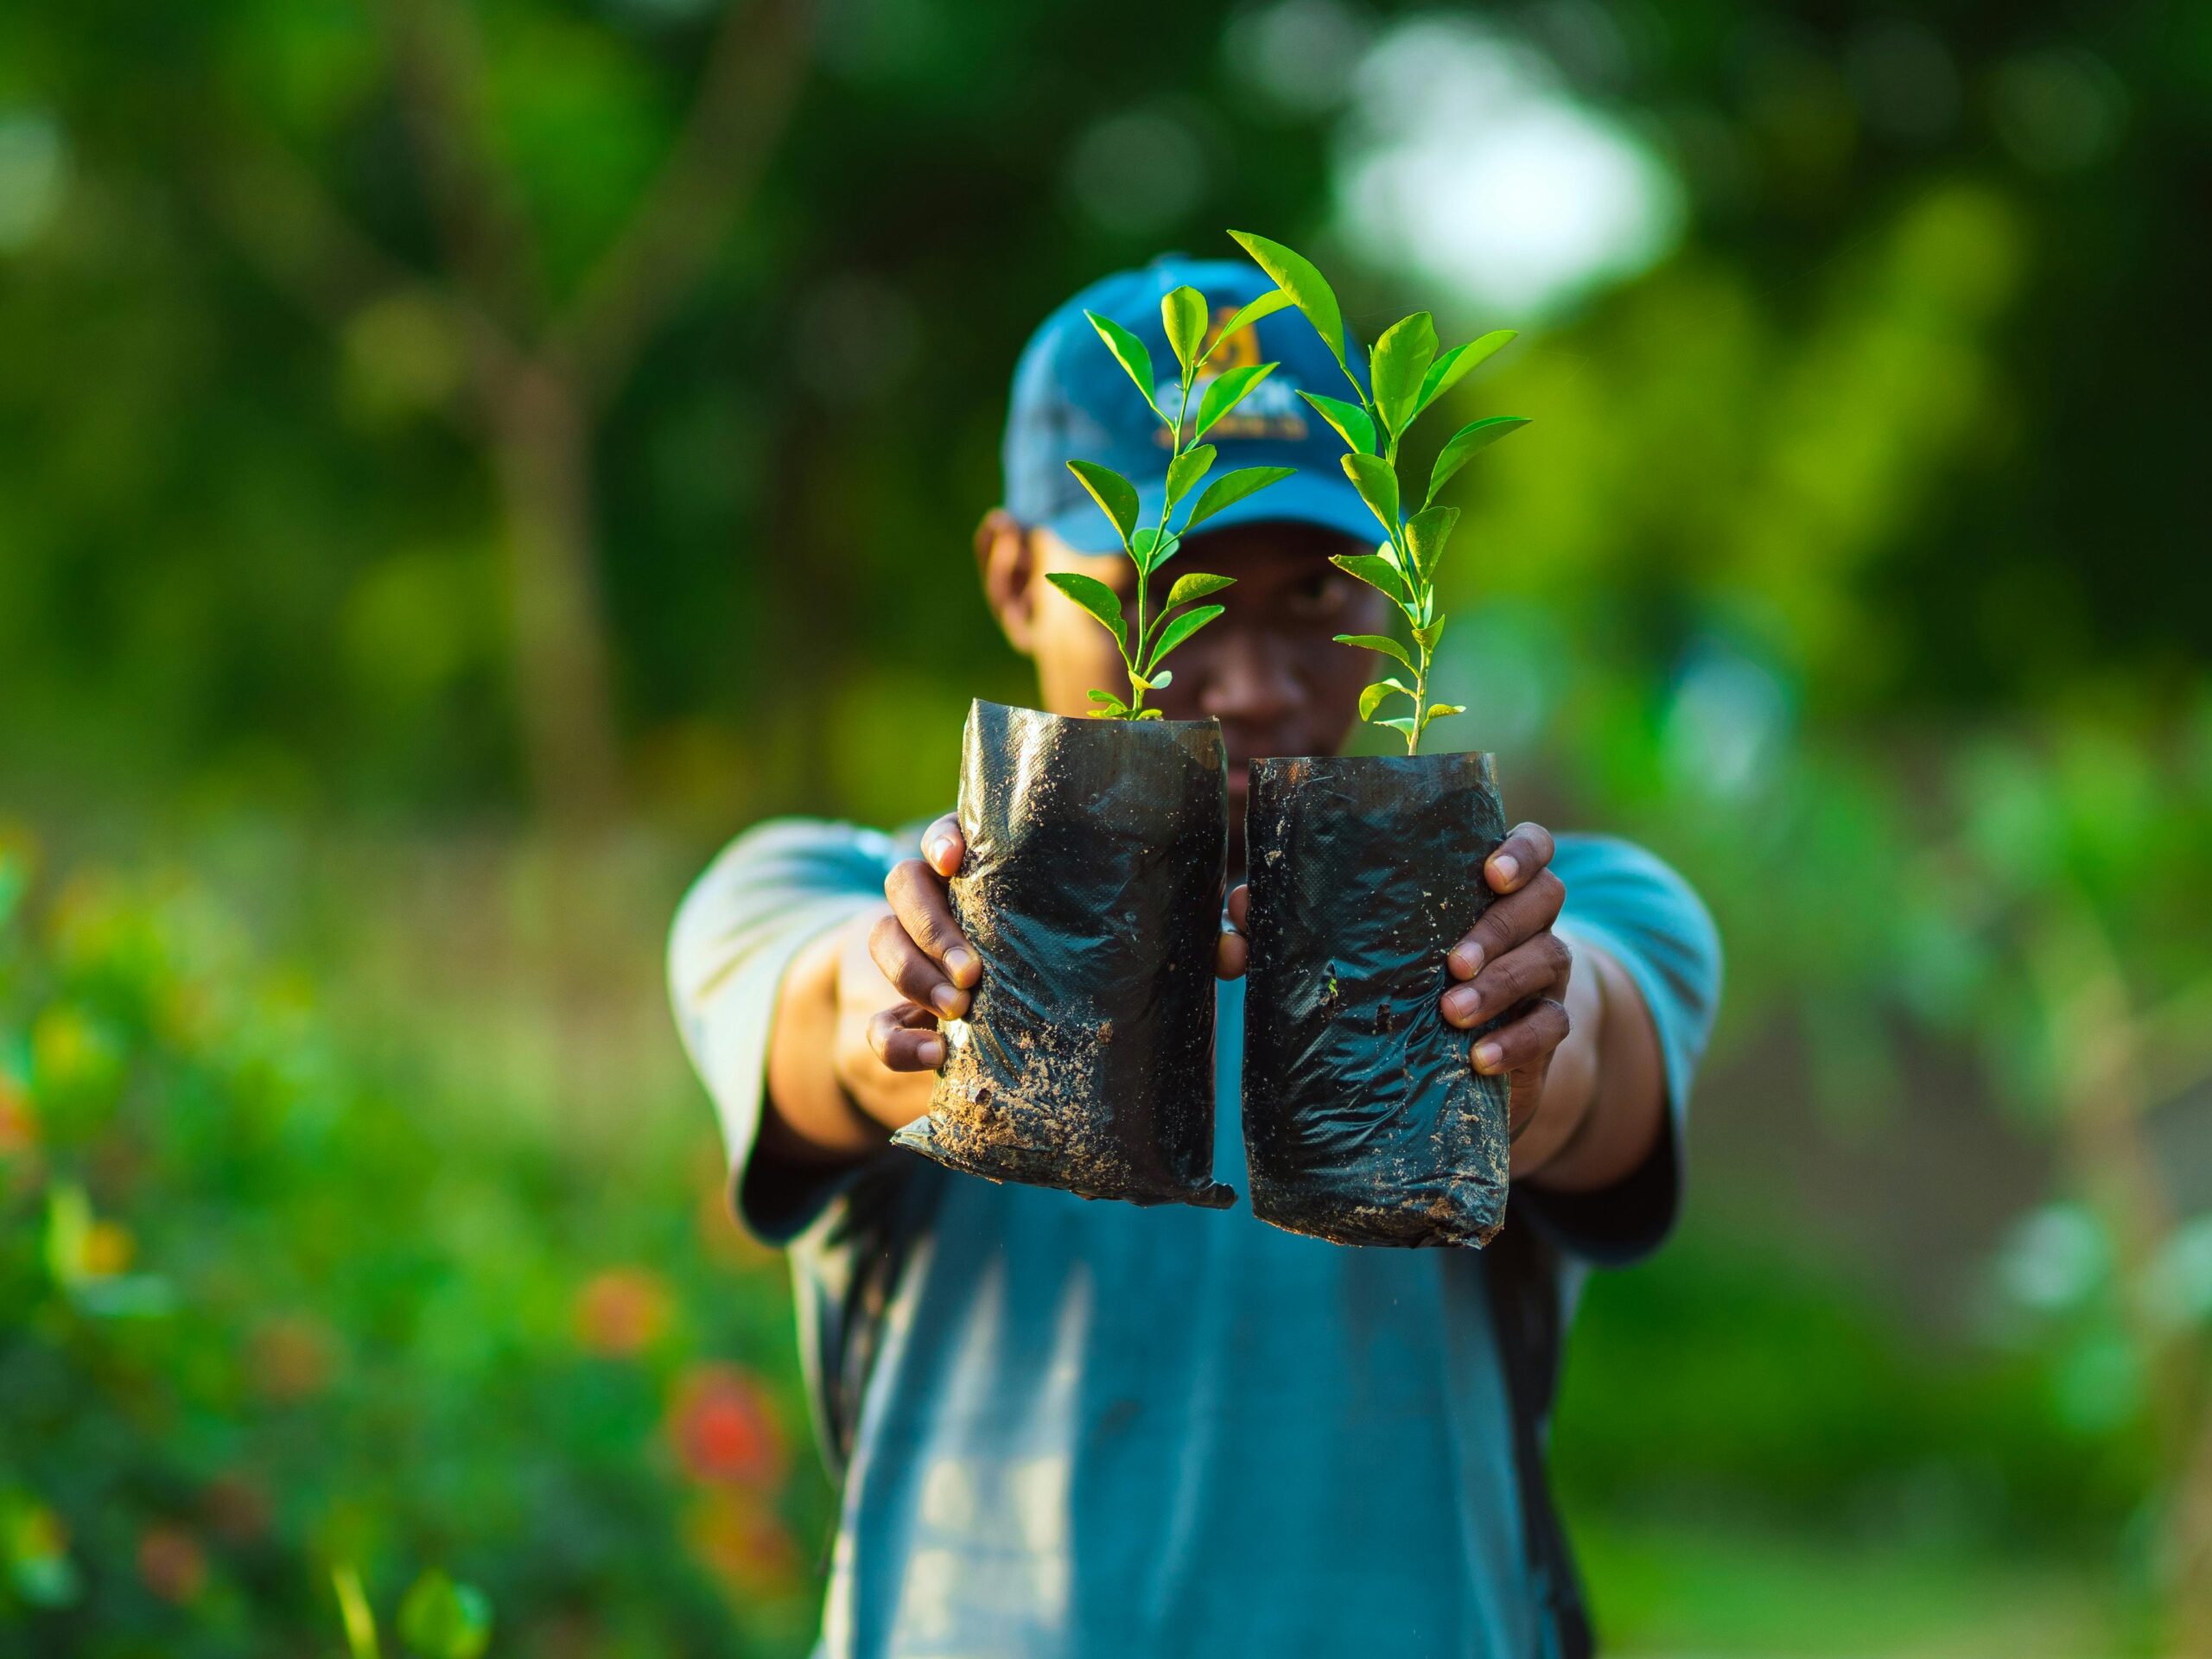
Have you ever brought home a beautiful little tree or plant from the nursery, full of excitement, thinking it will make your garden look amazing? (Maybe, you have other situations..read the following)
Anyway, after transplanting the tree in the ground, within a few days, the leaves start to droop, the plant looks weak, and no matter how much you water it, it just doesn’t survive.
Don’t worry!!! You’re not alone. Many gardeners face this problem. We buy saplings with so much hope, but without the right transplanting method, they often fail, because they do not know how to transplant trees with right way.
The truth is, success depends on the small details: choosing the right season, digging the right size hole, handling the roots carefully, and giving special care in the first few days.
That’s why in this guide, “How to Transplant Trees”, I’ll walk you through each step clearly, just like an experienced gardener sitting next to you and saying, “Don’t worry, follow these steps and your plant will grow healthy and strong.”
Before moving forward, you must know when to transplant trees, because timing is most crucial in every aspect of life….you know!!
Why Transplanting Matters? Reasons that you may have
Transplanting a tree or plant isn’t always about bringing a sapling home from the nursery. Sometimes, there are other reasons why you may need to move a plant from one place to another. Let’s look at the most common ones:
- Maybe your tree isn’t getting enough sunlight, or it’s stuck in the shade. Shift it to a brighter place. Also, keep in mind that younger trees (1–3 years old) adjust much better than older ones.
- If roots are fighting for space with other plants, give your tree a fresh start in a bigger spot, and also try to move it before it grows taller than 6–7 feet.
- Want a new look in your yard? Moving plants around can refresh the whole space. Make sure to decide the new layout before digging, so the tree isn’t waiting in your hands.
- Last but not least, maybe the construction work or pipes are too close. Relocating saves the plant from future problems.
Overall, if you are transplanting trees for any reason, follow small small tips that have been mentioned in this post; you just need to be attentive.
How to Know if a Tree is Ready for Transplanting?
When it comes to transplanting trees, the approach is slightly different depending on the situation.
If you just bought a tree from the nursery,
Good news……those trees are usually grown in containers or pre-prepared soil balls, which makes them ready for transplanting right away. You don’t really have to judge if they’re “transplantable” or not, because that’s why you’re buying them in the first place.
Still, it’s smart to ask the nursery staff about the tree’s specific needs—like watering routine, soil type, or sunlight preference — before you bring it home. Think of it as taking expert notes to give your new plant the best start.
But if you’re moving a tree that’s already growing in your yard:
Here, you need to be extra careful. Not every tree in the ground is ready to be shifted. In this case, you should check multiple signs together—age, size, root spread, health, and the right season. Only when all these factors align can you confidently decide to transplant.
| Factor | Description |
|---|---|
| Age | Best: 2–5 years old |
| Height | Ideal: 3–6 ft |
| Trunk Diameter | 1–3 inches thick |
| Root Health | Healthy, moist, not decayed |
| Season | Spring or Autumn preferred |
| Tree Health | Free from pests/diseases |
| Soil Preparation | Loose, fertile, moist soil |
How to Transplant Trees || Step-by-Step Guide
Make sure you have read the above sections, and now move forward with how to transplant trees, which is the topic of our content. By the way, for all types of trees, the transplanting method is usually the same; however ongoing care routine obviously varies (you might already know right)
Step 1: Choose the Right Spot
Choosing the right location is the first and most important step in transplanting trees. A good spot ensures your tree grows healthy and avoids stress from unnecessary moves. Whether the tree comes from a nursery or your own garden, the basics remain the same: light, soil, space, and protection matter.
Things to keep in mind:
- Sunlight: Tropical trees need full sun; cool-climate trees do better in partial light.
- Soil: Ensure it drains well and suits the tree type.
- Space: Enough room for roots and branches to grow. Avoid crowding near walls or other plants.
- Future Moves: Pick a spot that can be permanent, reducing the need for another transplant.
- Microclimate: Watch for wind, frost pockets, or water flow issues. Place the tree where it will be sheltered but still gets what it needs.
- Observation Tips:
- Check the existing spot for how sunlight and shade fall during the day.
- Feel the soil moisture and texture.
- Note any areas prone to strong wind or standing water.
Following these hints helps your tree settle in quickly and reduces the risk of stress, giving it the best start in its new home.
Step 2: Prepare the Hole
Once you’ve selected the perfect spot for your tree, it’s time to focus on the hole—but remember, the hole always comes first, before uprooting your tree. This prevents unnecessary stress on the plant.
Practical tips for real situations:
- Check the tree’s size first: Look at the tree you’re about to transplant. Estimate the root ball size based on its age and trunk thickness. A 1–2 year-old nursery sapling will need a smaller hole compared to a 3-year-old. Common sense helps here—observe the root spread if it’s visible or ask the nursery if it’s from a pot.
- Adjust hole dimensions: Dig slightly wider and deeper than the root ball to make sure the tree fits comfortably. If the tree looks a bit larger than expected, widen or deepen the hole as needed.
- Smooth edges: Avoid sharp soil edges at the bottom or sides; roots can get damaged easily.
- Consider uneven ground: If the area has slopes or compact soil, dig a little extra space and loosen the soil so the root ball can settle without stress.
- Real-life scenario hint: Sometimes your sapling may lean slightly in the pot or have roots tangled. In that case, give extra diameter to the hole on the side of the longer roots.
By taking the tree’s size and the real situation into account, you ensure the hole is just right. This way, when you place your tree, it will settle safely and grow strong without the need for repeated adjustments.
Step 3: Remove the Tree Carefully
Now that your hole is ready, it’s time to carefully remove the tree from its current spot. This step is crucial because damaging the roots can stress the tree and affect its growth.
Practical tips for real situations:
- For nursery trees in containers: If your tree came from a nursery, gently remove it from the pot. Hold the base of the trunk and carefully slide out the root ball. If roots are circling the pot, loosen them gently with your fingers without breaking too many.
- For trees in your garden: Start by marking a circular area around the tree that matches the estimated root ball size. This is your “maximum area.” Use a gardening spade or trowel to draw a clean line around this circle.
- Digging carefully: Begin digging along the line, keeping the spade angled inward slightly to protect the roots. If you encounter a root sticking out, carefully extend your digging a bit beyond the original circle—never force it.
- Handling roots: Roots in the middle or near the edges may require you to slightly enlarge the hole to prevent cutting them. Always lift the tree with the soil around the roots (root ball intact).
- Check for hidden roots: As you dig, feel the soil with your hands to detect any hidden roots. Gently separate these without snapping them.
- Real-life hint: Even if you’ve planned a limited digging area, don’t hesitate to expand slightly to avoid root damage. The health of the root ball is more important than sticking strictly to your circle.
By taking these careful steps, you ensure the tree comes out safely, roots intact, ready for its new home.
Step 4: Place the Tree & Fill the Hole
Once the tree is safely uprooted, the next critical step is placing it into the prepared hole and filling it correctly. This step combines the work you did in digging and uprooting.
Key points to remember:
- Immediate placement: Don’t leave the tree sitting outside for long. Ideally, place it in the hole immediately after uprooting. Even a delay of a few hours can stress young trees, especially nursery-bought ones, as roots start drying out.
- Positioning the root ball: Carefully lift the tree with the soil intact around the roots. Place it in the hole so that the top of the root ball aligns with the ground level. Check the orientation if you had marked it earlier (north/south).
- Filling technique: Start filling soil around the root ball in layers. Don’t dump all soil at once. Gently add soil in small amounts, pressing lightly with your hands to remove large air pockets but avoid compacting too hard. Overly compacted soil can suffocate roots.
- Check soil moisture: Ideally, the soil should be slightly moist but not soggy. If it’s dry, water lightly while filling. If wet, avoid over-saturation.
- Root spreading: As you fill, make sure any roots sticking out are gently tucked into the soil without bending them unnaturally. This ensures they establish properly in the new location.
- Timing reality: From uprooting to filling the hole, aim to finish within 30–60 minutes for young trees. This reduces stress and keeps roots healthy.
- Practical hint: If you notice gaps or air pockets forming near the edges of the root ball, sprinkle a little more soil and press lightly. Repeat gradually until the hole is level with surrounding ground.
By following these careful steps, you ensure the tree is stable, roots are well-covered, and it is ready to start growing in its new home without shock.
Step 5: Temporary Care
After placing the tree in its new spot and filling the hole, temporary care is critical for helping it establish quickly and avoid transplant shock. Think of this as giving your young tree the right environment to settle in comfortably.
Key considerations for temporary care:
- Watering: Immediately after transplanting, water the tree thoroughly to help settle the soil around the roots. In the fall, the soil retains moisture longer, so avoid overwatering. Water deeply but less frequently to encourage roots to grow downward. (see signs plant needs water…)
- Mulching: Apply a 2–3 inch (5–7.5 cm) layer of organic mulch around the base, keeping a few inches gap from the trunk. Mulch helps retain soil moisture, regulate temperature, and reduce weed competition. Avoid piling mulch against the trunk, as it may cause rot.
- Fall considerations: Since you’re transplanting in the fall, temperatures are cooler and sunlight is less intense. Mulch helps protect roots from sudden temperature drops, and watering frequency can be lower than in summer.
- Root protection: Check that the root ball stays intact. Avoid disturbing the roots during the first few weeks. Any exposed roots should be gently covered with soil or mulch.
- Staking if needed: If the tree is tall or in a windy area, use 1–2 stakes to support it for the first 1–2 months. Remove stakes once the tree can stand firmly on its own.
- Monitoring: Watch for wilting leaves, yellowing, or drooping, which indicate stress. Adjust watering accordingly. If leaves are drooping slightly but recover by evening, this is normal. Persistent drooping needs more attention.
- Avoid fertilization initially: Do not fertilize immediately. Roots need to establish first. Adding fertilizer too early may stress the tree.
Practical tip: Think of temporary care as “holding the tree safe” rather than forcing growth. The goal is to let it adapt to the new environment.
Summary of Ongoing Care || How to Transplant Trees →Ongoing Care
Once your tree is transplanted and temporary care is done, ongoing care ensures it adapts and grows strong. Water deeply and consistently, monitor sunlight exposure, maintain mulch around the base, and check soil for compaction.
Avoid fertilizing immediately; start with a balanced fertilizer in spring when new growth begins. Prune only damaged branches and watch for stress signs like wilting or yellowing leaves.
Seasonal adjustments are important; spring requires removing excess mulch and ensuring adequate sunlight, while winter may need extra protection for roots and trunk. (Here’s how to prepare garen for winter)
Regular checks and timely care help your tree settle in its new home, thrive, and reduce the need for future transplanting.


