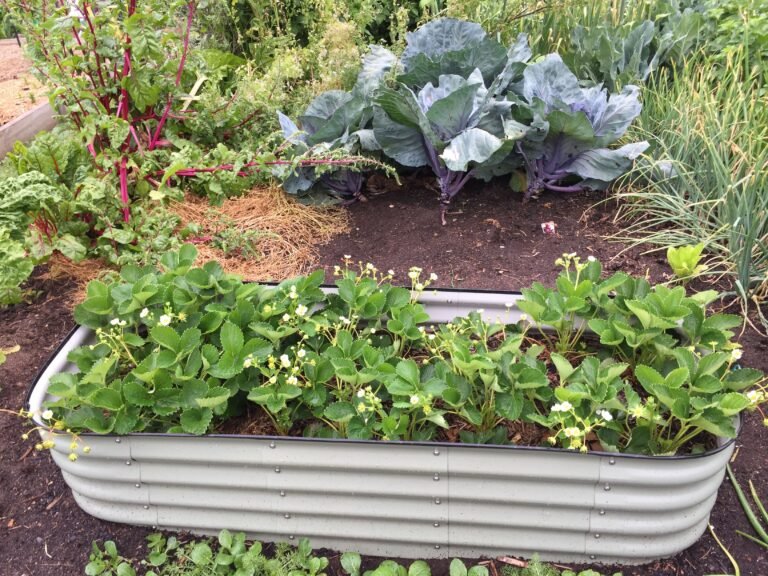
You built the bed, and now you are staring into an empty box. The first real worry is usually how much this will cost to fill. That worry is fair.
A medium bed can swallow far more soil than most people expect. Bagged soil adds up quickly, and the advice online pulls in ten directions. One page says layer it, another says fill it solid, a third says buy special mix.
Get it wrong and you pay one of two prices. You either overspend by a wide margin, or your plants struggle all season in poor soil.
The good news is that filling a bed follows simple logic once you see it. This guide covers depth, volume, the right mix, cheaper fills, and the mistakes that quietly waste money. By the end, you will know exactly what to buy and the order to add it.
- What You Will Need Before You Start?
- How Much Soil Does a Raised Bed Actually Need?
- How Deep Should the Soil Be?
- What to Fill a Raised Garden Bed With?
- The Equal-Parts Mix That Reliably Delivers
- How to Fill a Raised Garden Bed Step by Step?
- Two Proven Ways to Fill a Deep Bed for Less
- Filling Beds on Legs, Patios, or Concrete
- Common Mistakes That Quietly Ruin a New Bed
- Best Time to Fill and How to Keep the Soil Alive
- FAQ's
What You Will Need Before You Start?
Gathering everything first saves trips to the store halfway through. It also helps you buy the right amount in one go.
Your exact list depends on the size and depth of the bed. Most fills come down to a base filler, bulk soil, and compost.
Here is a simple starting checklist:
- Bulk topsoil or a bagged raised bed mix for volume
- Quality compost, ideally two or three different kinds
- Bulky filler for deep beds, like logs or dry leaves
- Cardboard or hardware cloth to line the bottom
- Optional boosters: worm castings, rock dust, organic fertilizer
Keep the compost aside until you fill the top section. That layer does the heavy lifting for your plants.
How Much Soil Does a Raised Bed Actually Need?
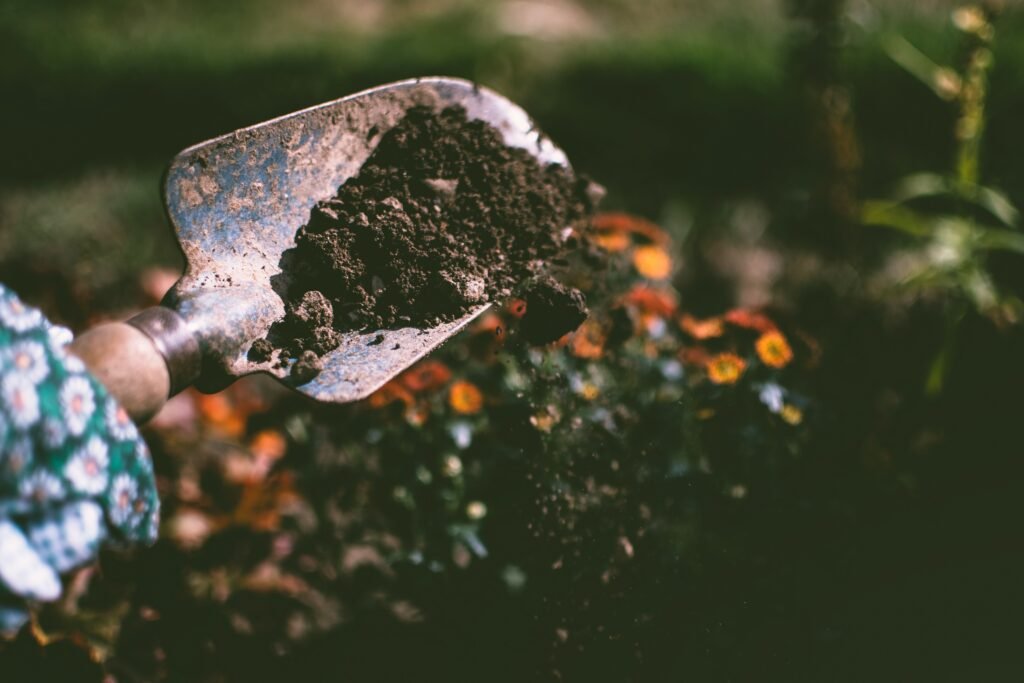
The volume catches almost everyone off guard. Depth is the sneaky part, since cost climbs fast as beds get deeper. The math itself is painless.
Multiply length by width by height, all measured in feet, to get cubic feet. For example, a four by four bed filled six inches deep needs about 8 cubic feet. Push that same bed to twelve inches and you double it.
Bagged soil comes in one, one and a half, or two cubic foot bags. One cubic yard holds 27 cubic feet, which is roughly eighteen of the larger bags.
Here is how the numbers scale on common sizes:
- 4 by 4 bed, 6 inches deep: about 8 cubic feet
- 4 by 8 bed, 12 inches deep: about 32 cubic feet
- 2 by 4 bed, 10 inches deep: close to 7 cubic feet
Always buy a little more than the math says. Adding 5 to 15 percent extra covers settling, spillage, and small measuring errors. Once you pass about 27 cubic feet, bulk delivery by the yard usually beats bags on price, and any leftover soil keeps fine for next season if you store it right.
How Deep Should the Soil Be?
Depth decides which crops thrive and which ones stall. Shallow soil quietly caps your harvest before the season even starts. Most root activity stays near the top.
In practice, most vegetable roots sit within the top 6 to 12 inches of soil. Still, deeper soil gives roots more water, air, and space to explore. Match the depth to what you plan to grow.
Use these rough minimums as a guide:
- Salad greens, spinach, and herbs: about 6 inches
- Peppers, beans, and most vegetables: around 12 inches
- Tomatoes, cucumbers, and squash: 15 to 18 inches
- Carrots, parsnips, and other roots: 18 inches or more
Depth also ties into water needs. Thirsty, deep-rooted crops like tomatoes want that extra soil so they can pull moisture through a long, hot summer.
Where the bed sits changes the math. Over open ground roots slip past the walls into the earth, but on concrete the bed is the whole root zone.
One smart trick costs nothing. Loosening the native soil six to ten inches deep before you fill lets roots reach far past the walls.
Should You Line the Bottom of a Raised Bed?
Lining is optional, and the right choice depends on your problem. Weeds, burrowing animals, and polluted ground each call for something different.
Skip anything that traps water. The goal is to block pests or weeds without drowning your roots.
When Cardboard or Newspaper Is Enough?
For most gardeners, plain cardboard on the bottom does the job. It smothers grass and weeds from below, then rots away within a season and feeds the soil. Lay it flat, overlap the seams, and soak it before you add soil.
When to Use Hardware Cloth?
If gophers, voles, or moles dig in your area, cardboard will not stop them. Staple half inch hardware cloth across the base before filling.
This wire mesh blocks burrowing pests while still letting air, water, and earthworms move through. Doing this after the bed is full means digging everything out, so handle it early.
Why to Skip Solid Plastic?
Lining a bed with plastic sheeting feels tidy, but it backfires. Solid plastic traps water against the roots and limits how deep they can grow. Save food-grade plastic for one case only, a bed sitting on soil you know is contaminated.
What to Fill a Raised Garden Bed With?
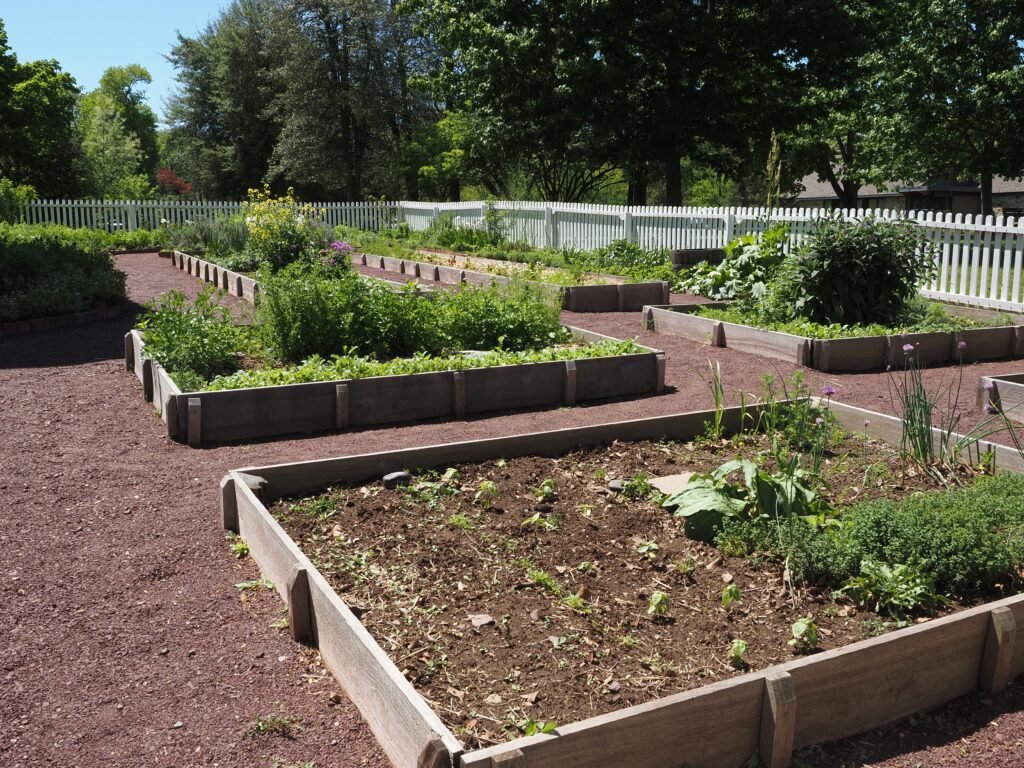
The top layer is where your plants actually live, so this part matters most. Everything below it simply supports that zone. You have two solid routes for the growing mix. One is a tested recipe, the other a cheaper blend that still performs.
Skip the Plain Garden Soil
A raised bed behaves more like a giant container than open ground. The plants depend almost entirely on what you pour in.
Plain garden soil packs down hard inside the walls, drains poorly, and starves roots of air. Using it as your main fill is the fastest route to a weak season, with pale, hungry plants by midsummer.
The Equal-Parts Mix That Reliably Delivers
One recipe has earned a loyal following, and many gardeners simply call it Mel’s Mix. It blends equal parts compost, peat moss or coir, and coarse vermiculite. It grows well in as little as six inches.
The compost feeds the plants. The peat and vermiculite keep the mix loose and hold moisture without going soggy.
One detail makes a real difference. Blend several kinds of compost for a wider spread of nutrients and living microbes.
The upfront cost stings, but it lasts. A good batch often stays loose and productive for seven to ten years.
A Cheaper Blend That Still Grows Well
Vermiculite and peat strain a budget once you have several beds. A homemade blend closes most of the gap.
One easy route mixes about 60 percent quality topsoil with 40 percent compost. Add perlite if the blend feels heavy.
Another reliable option combines equal parts topsoil, coarse sand, and compost, plus a scoop of worm castings. Whatever you choose, keep the top few inches rich in compost, since roots feed hardest there.
The Amendments Worth Adding at Fill Time
A few extras at fill time pay off all season. They feed the soil life that feeds your plants. Worm castings are the easiest win.
They release nutrients slowly and never burn roots, even in direct contact. Rock dust is worth a look too. It adds trace minerals that ordinary soil often lacks and can nudge fertility upward.
For a steady base, mix in a gentle, slow release organic fertilizer, something balanced like a 4-4-4. Save mycorrhizae for planting day. This helpful fungus works only when it touches the roots, so sprinkle it in each planting hole.
How to Fill a Raised Garden Bed Step by Step?
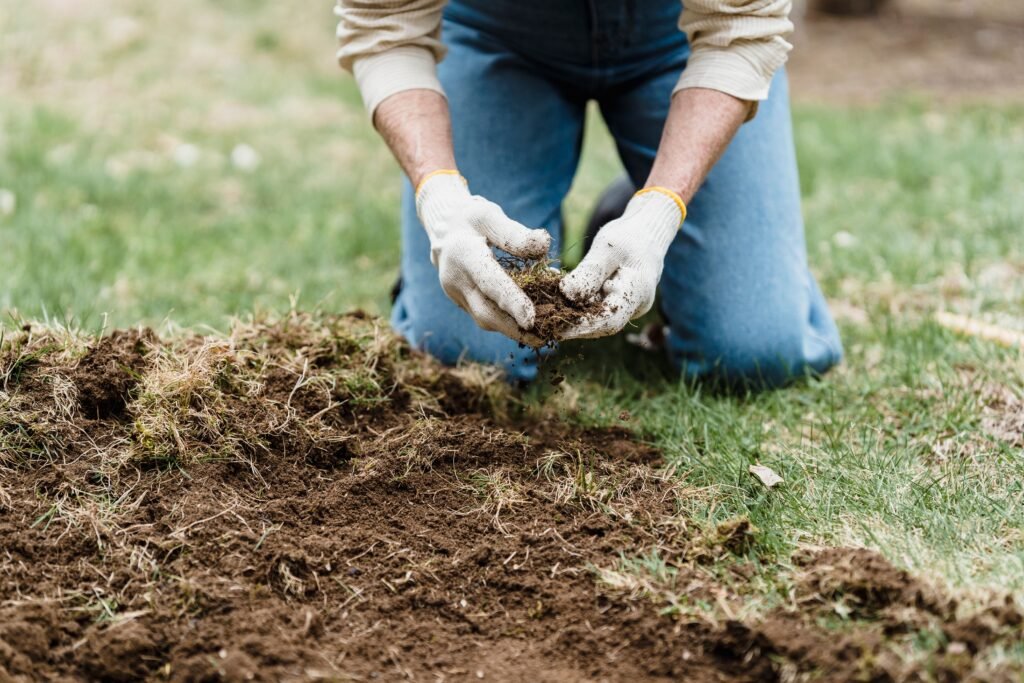
For a deep bed, filling the whole thing with premium mix wastes money. The smart approach puts cheap bulk down low and saves the good soil for the top. The rule is coarse at the bottom, fine at the top. Each layer breaks down over time and feeds the one above it.
Start With a Weed Barrier
Lay flattened cardboard or several sheets of newspaper across the base. This smothers grass pushing up from below and adds a carbon layer as it rots. Soak it once it is down, which settles it in place and draws worms upward.
Add a Bulky Base in Deep Beds
If your bed stands taller than about 18 inches, fill the lowest part with woody material. Logs, branches, leaves, and old straw take up space cheaply and rot into food later. Leave this step out of shallow beds, where every inch of real soil counts.
Build Up the Middle With Green and Brown Waste
Above the base, stack alternating layers of green and brown scraps. Greens like grass clippings and kitchen waste add nitrogen, while browns like dry leaves add carbon. Mixing the two speeds decay and builds richer ground beneath the planting zone.
Finish With Your Growing Mix on Top
Cap the bed with at least 6 to 8 inches of your compost and soil blend. This upper band is the true root zone, so never cut corners here. Fill to the rim, water it well, then top off once the soil settles.
Two Proven Ways to Fill a Deep Bed for Less
Deep beds drink up soil, so smart gardeners fill the bottom with free material. Two methods stand out, and both feed the bed for years.
Each one turns yard waste or straw into part of the structure. Pick based on whether you want richer soil or less watering.
The Hugelkultur Method
Hugelkultur is an old technique built around burying wood under the soil. The buried logs act like a slow sponge. They soak up water, release it during dry spells, and feed the bed as they rot.
It shines in tall beds. You can lay a foot of wood and still keep a deep layer of good soil above it.
The Wood That Helps and the Wood That Sabotages
Not every log belongs in your bed. Hardwoods like oak, maple, birch, and alder rot slowly and hold moisture for years.
Stay away from black walnut. It releases a natural chemical that stunts the growth of many plants. Keep the heaviest logs at the very bottom, or their weight will crush the lighter layers above.
The Core Method for Less Watering
The core method buries a strip of straw down the center to store water. It suits hot, dry spots where beds bake fast.
Dig a trench eight to ten inches deep down the middle. Fill it with four to five inches of straw, then cover it with soil.
Soak it well to charge the core. The straw holds water like a sponge and spreads moisture about two feet to each side.
Use straw, not hay, since hay carries seeds that sprout into weeds. Skip this method if you already use an equal-parts mix, which manages water on its own.
Filling Beds on Legs, Patios, or Concrete
Elevated beds and beds on hard surfaces follow different rules. Water cannot drain into the ground, so the mix must do more. In these shallow, enclosed beds, a soggy zone forms at the bottom and eats into the limited space roots have.
That wet zone starves roots of air. Drainage holes and a light, airy mix are not optional here.
Skip heavy fillers like logs. Lean on compost, coir, and perlite to keep the blend open and quick to drain.
Weight is the other limit. On a deck, about 12 inches of soil is the practical ceiling once it is wet, and you will need to water more often since these beds dry out faster than in-ground ones.
Common Mistakes That Quietly Ruin a New Bed
A few habits sound smart but quietly sabotage a fresh bed. Dodging them saves money and a whole season of frustration.
Most trace back to old advice that never actually worked. Here are the three that trip people up most.
Putting Rocks at the Bottom for “Drainage”
This is the most stubborn myth in raised bed gardening. Despite how common the advice is, a rock layer does not actually improve drainage.
Water will not cross from fine soil into coarse rock until the soil above is soaked. So it pools there instead. That trapped band, called a perched water table, sits near the roots and can trigger the same rot you get from waterlogged soil.
Forgetting the Bed Will Settle
Fresh fill always drops after the first waterings and as organic matter breaks down. Mound the soil slightly above the rim, or keep spare mix ready to top up. A bed that sinks two inches leaves shallow roots stranded near a dry surface.
Digging in Fresh Manure or Hot Materials
Manure sounds like free fertilizer, but the fresh kind can scorch young plants. Age it at least six months to a year first, or it burns roots and stalls growth. The same caution applies to other strong raw inputs, which need time to mellow before roots meet them.
Best Time to Fill and How to Keep the Soil Alive
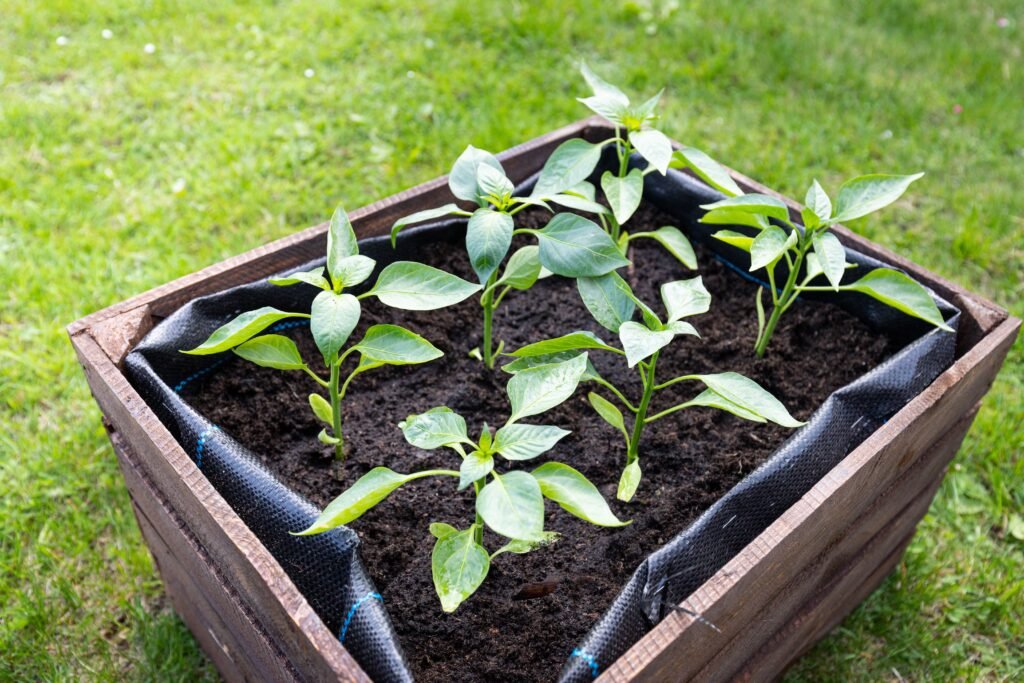
Timing is not strict, but one window works best. Fall is the ideal time for adding bulky amendments. Fall gives compost and manure months to blend into the soil before spring planting.
Spring still works fine with a lighter touch. Each spring, work one to two inches of compost into the top, then spread two to four inches of mulch over it.
The compost refuels the soil, while the mulch holds moisture and slows weeds. Aim to keep the soil’s organic matter near five percent or higher. Do this each year, and a bed you fill once keeps feeding you for many seasons.
FAQ’s
Can I fill a raised bed with just compost?
Not on its own. Pure compost holds too much water, sinks fast, and can overload plants with nutrients. Blend it with topsoil or a bed mix so the structure stays open and steady.
Do I need to remove the grass first?
Not if you line the bottom. A layer of cardboard smothers the grass and breaks down in place. For tough spreading grasses, dig them out first, since some push through cardboard anyway.
Can I reuse old potting soil in the bed?
Yes, as a filler in the lower layers. Old container mix works well below your fresh growing zone. Refresh it with compost before roots rely on it, since last year’s mix is often spent.
How often should I replace the soil?
Rarely, if you feed it. You top up instead of replacing, adding compost each season rather than starting over. A quality mix can stay productive for years with yearly compost and mulch.
Fill the bed with care once, and it pays you back for years. Match the depth to your crops, guard the top layer, and let the cheap fillers do the quiet work below.